WILLKOMMEN IN EUROPAS GROßEM SPORTWAGEN FORUM
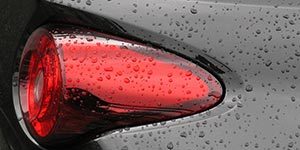
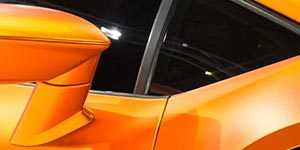
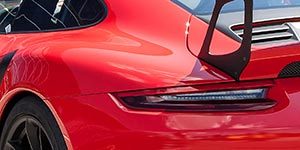
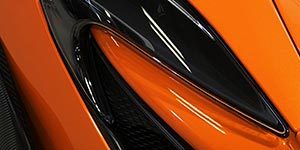
Hier treffen sich Sportwagen-Fahrer und die es werden wollen. Deshalb sind Youngtimer, wie der Ferrari 308 oder Porsche 911T, der Lamborghini Countach und Aston Martin DB9 aber auch Supersportwagen wie die Corvette ZR1, der Porsche 918 Spyder, Ferrari SF90 Stradale, Lamborghini Aventador und Pagani Huayra und viele Klassiker ein großer Bestandteil unserer großen Community. In unseren vielen offenen und geschlossenen Foren-Bereichen kann man sich zu den großen und auch kleineren Luxuswagen- und Sportwagen-Marken austauschen. Ebenso gehören gemeinsame Ausfahrten und Treffen zur Community, wie auch Fragen und Antworten zu technischen Themen. Man erhält wertvolle Tipps und Kaufberatungen direkt aus erster Hand; also von Sportwagen-Fahrern für Sportwagen-Fahrer. Sei auch du Teil dieser großen Gemeinschaft und melde dich noch heute kostenlos an.